


Balanced Living
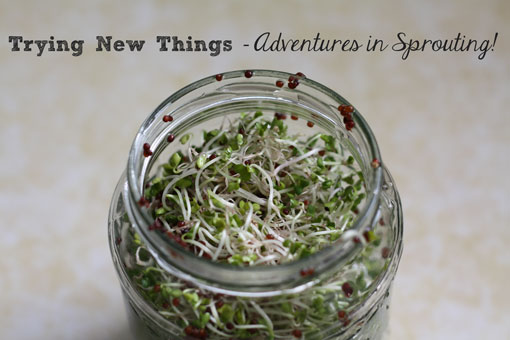
Trying New Things – Adventures in Sprouting!
Posted by Arja on August 2 in Nutrition
I love to experiment in the kitchen, especially if it means discovering a homemade or DIY version of a food my family and I enjoy eating! There’s something very satisfying about eliminating one more thing that I need to purchase at the store, and it usually means that I also get more control over the finished product and what goes into it. Home grown sprouts have been no exception, requiring minimal (and basic) equipment, and little effort. The bonus is that the gardener in me also gets the satisfaction of growing something in my kitchen!
I’ve always enjoyed sprouts in my salads, on sandwiches, tossed into smoothies, or even on top of burgers, and as tasty as they are, sprouting seeds, grains, and legumes actually increases their nutritional value and makes them easier to digest. Here are a few nutritional benefits of eating fresh sprouts:
-reduces phytic acid and enzyme inhibitors which can otherwise be present in some legumes and grains
-increases digestibility by starting the breakdown of carbohydrates and vegetable proteins into simpler glucose and amino acids
-allows enzymes to be activated which also increases digestibility
-increases vitamin c, B vitatmins, and carotenes
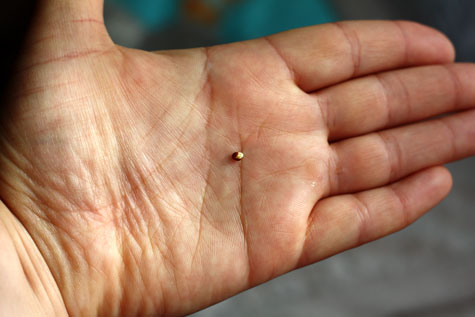
So, what do you need to sprout? A wide mouth mason jar, a fine mesh screen (like cheesecloth), seeds, and fresh filtered water. I’ll be honest, my adventure in sprouting started after an impulse purchase of this A. Vogel BioSnacky Sprouting Jar at my local health food store. It was very inexpensive, and I loved the fact that the lid was already outfitted with a support that allows the jar to sit on a balanced angle for water drainage and air circulation. Having said that, you can use a regular old glass jar and get the same results! I grabbed some sprouting seeds, in this case the Mumm’s brand, and ran home to get started!
Although total sprouting time will vary from 3-10 days on average depending on the type of seeds you are sprouting, the actual method is pretty much the same:
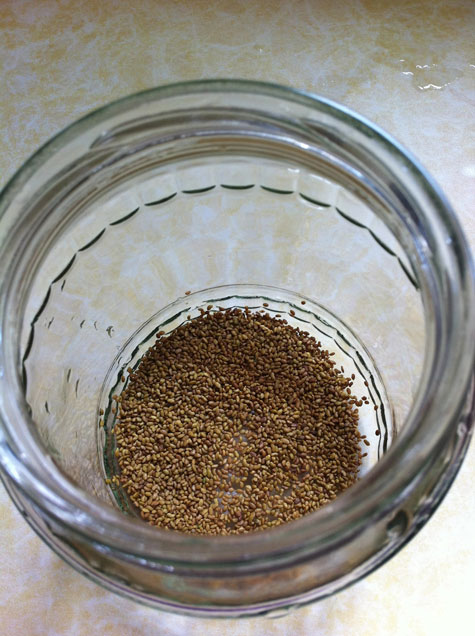
1. Start by rinsing, and then soaking seeds in a bright spot (though not in direct sunlight) for 6 hrs.
2. Drain water, rinse again, and then drain well. Leave jar propped on an angle to allow water to continue to drain out, and for air to circulate through the jar.
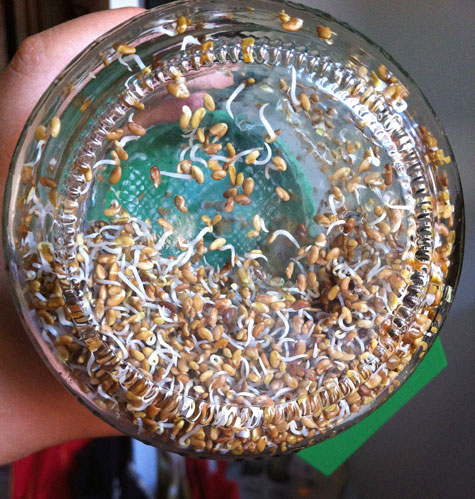
3. Continue to rinse seeds twice daily for length of sprouting time.
4. Once fully sprouted, store in the fridge and consume within 4 days. Wash and dry sprouting jar well in preparation for the next batch.
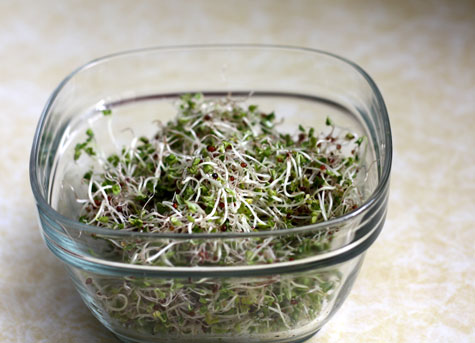
Easy peasy. My little jar sprouts about 1 tbsp of seeds very well, and yields enough sprouts to completely fill the jar. I would not want to try and do more unless my jar was bigger, and in actual fact, that amount is perfect to last me 3-4 days, and I can start a new batch of sprouts in the meantime.
As someone who loves sewing projects, DIY projects, and other crafty type activities, I can honestly say that not everything you do yourself at home ends up being more cost effective than purchasing, especially when you factor in the cost of your own time! Sprouting, however, is incredibly economical – you probably already own the jar or can get your hands on one easily, cheesecloth is cheap, sprouting seeds will run you $2-$5 per bag (you’ll get a lot of sprouts from one bag of seeds!), and your personal time investment is minimal.
So what are you waiting for? Go try something new!
Eat to fee good!
